
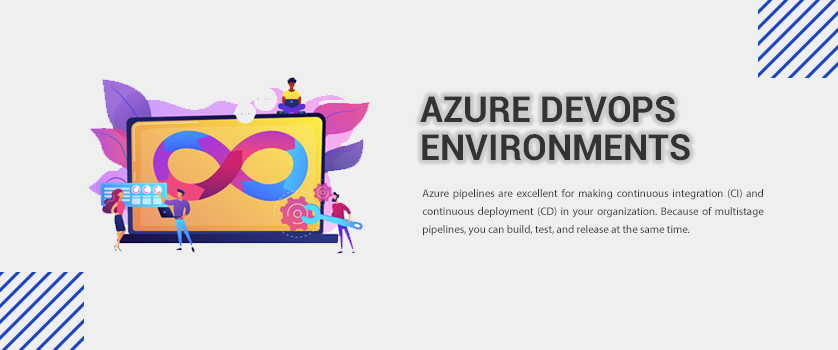
Azure pipelines are excellent for making continuous integration (CI) and continuous deployment (CD) in your organization. Because of multistage pipelines, you can build, test, and release at the same time. An Azure environment represents a group of resources that can be targeted by deployments from a pipeline, allowing you to map physical or virtual environments such as development, production, and Q&A into agile development.
Currently, there are only two types of resources available:
Apart from these resources, databases and Azure web apps are still in development and soon you will be able to use them.
Azure environments have many benefits to offer that are:
Besides this, anytime you target an environment from your pipelines, you don’t have to specify the service connection for your resources because pipelines automatically use the service connection defined in that environment.
People get confused between environment and deployment groups, hence you need to understand the basic difference between the two.
In simple words, they both have the same theory in actual deployment. Since Deployment group jobs are not yet supported in YAML, in this case, the Environments come up. While the environment at its core is a grouping of resources, and these resources themselves represent actual deployment targets.
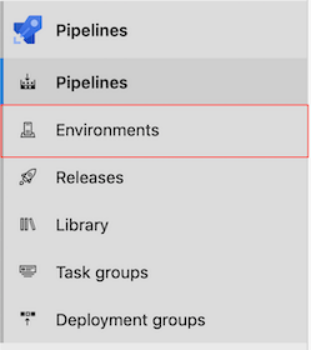
To create an environment, you need to sign in to the Azure DevOps portal. Once you open the portal, navigate to the Pipelines page, choose Environments and click on Create Environment.
Here, in the window, after specifying a name and a description (optional), select the type of resources that you want to add to your environment and click on create.
Although your environment is created, yet it shows the status as “Never Deployed” if you go back to the Environments page. Further, in this post, we will show how this status changes once you start using the environment.
To use the environment, you have to create a pipeline. That’s why we’ve mentioned steps to create a pipeline. But if you already have a pipeline then you can skip the following instructions.
Steps to create a pipeline:
To complete the procedure, click the Save and Run button.
While the pipeline is running, you can also see what’s going on in real-time by clicking on the stages. But if you go back to Environments, you will see that the status of your environment has changed to “Not Deployed” for the build that was currently deployed in it.
Azure lets you control a stage using approval checks. By using approval, you can control deployments to production environments. These checks are a mechanism for the resource owner to control when a stage in a pipeline consumes a resource. The owner of a resource, like an environment, can define approvals. However, the check must be satisfied before a stage starts to consume resources.
Currently, manual approval checks are supported on environments and only the creator, administrator, and user roles can manage approvals and checks. The reader cannot manage or check approval.
In Azure Environments, the security feature is created to grant access to the environment. It works in two ways:
The biggest advantage of using Environments in deployments is that it allows you to track the deployment history. Once you click on our deployment, it shows the status of your deployment jobs. For example, sometimes, you would see that two microservices, each with its pipeline, are deployed to the same environment. In this case, the deployment history helps you unfold the mystery by showing the list of all the pipelines impacting the same environment.